Food Saver Vacuum Sealer: The Complete Guide to Bags, Models, Usage & Fixes
Everything home cooks need to know before buying, using, or troubleshooting a food saver vacuum sealer.
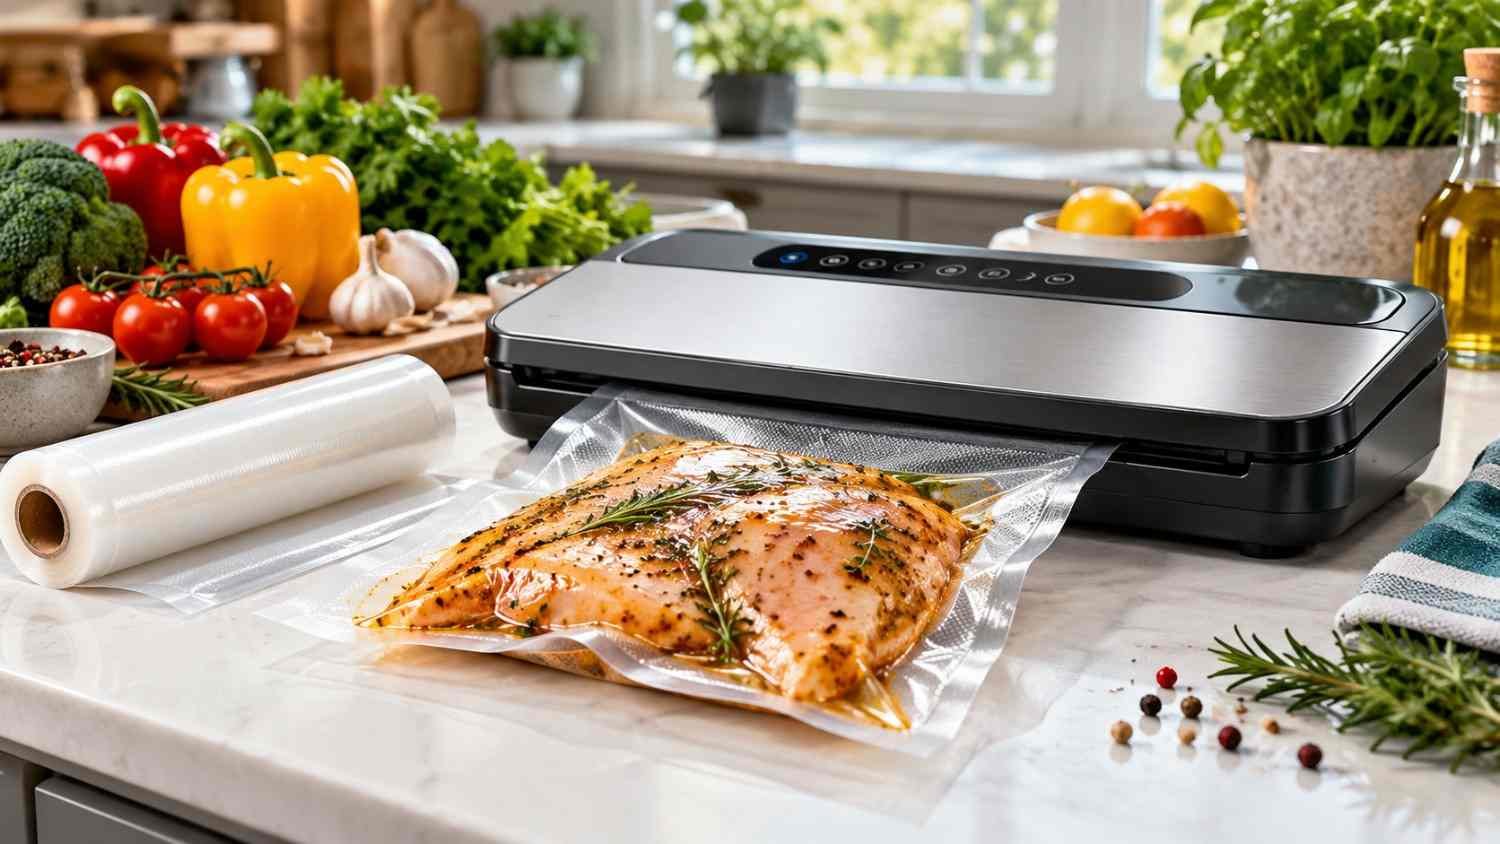
Food that goes bad before it gets eaten is one of the most common kitchen frustrations. The USDA estimates that 30 to 40 percent of the US food supply is wasted, and much of that waste happens at home. A food saver vacuum sealer tackles part of the problem by pulling air out of a bag and sealing it shut, which slows freezer burn and spoilage caused by oxygen.
This guide explains how the machines work, which type fits which kitchen, how to choose bags and rolls, and how to fix the two most common complaints: a food saver vacuum sealer that is not vacuuming and one that is not sealing. The advice follows manufacturer guidance and USDA food safety basics rather than marketing claims.
What Is a Food Saver Vacuum Sealer?
FoodSaver is a household brand of vacuum packaging systems, and the name is now widely used as shorthand for the whole category. A typical machine has a sealing bar, a vacuum pump, a drip tray, and a latch that locks the lid. Some newer models add a built-in roll holder and cutter, which is why many shoppers search for a food saver vacuum sealer machine with storage for bag rolls.
How the process works
- Food goes into a bag or roll piece with space left at the top.
- The open end sits inside the vacuum channel.
- The pump pulls air out of the bag.
- A heated strip melts the bag layers together to form an airtight seal.
Why oxygen matters
Oxygen drives oxidation, which dulls color and flavor and encourages the growth of many spoilage organisms. Freezer burn is a related problem: moisture escapes from the food surface and leaves dry, grayish patches. Removing air and sealing tightly reduces both.
Why a Food Saver Vacuum Sealer Is Worth Using
- Less food waste: bulk meat, fish, and leftovers can be portioned and frozen with far less freezer burn.
- Lower grocery costs: buying family packs or seasonal produce and sealing individual portions often costs less per serving.
- Better meal prep: cooked rice, soups, and marinated proteins stay organized and flat in the freezer.
- Faster marinating: some models include a marinate mode that helps seasoning penetrate quickly.
- Pantry protection: flour, rice, coffee, and nuts stay fresher without absorbing odors or moisture.
- Sous vide and camping: sealed bags work for water-bath cooking and keep trail food compact.
People who cook batch recipes will find it especially handy. A big pot of beans, stew, or the kind of dishes covered in the food recipes section can be portioned, cooled, sealed, and frozen flat so dinner on a busy night takes minutes.
Types of Food Saver Vacuum Sealers Compared
Not every kitchen needs the same machine. The right pick depends on how often the sealer runs and what goes in the bags.
| Type | Best for | Strengths | Limits |
|---|---|---|---|
| Countertop (2-in-1 style) | Families, bulk shopping, meal prep | Strong pump, roll storage and cutter on many models, handles bags and canisters | Needs counter or cabinet space |
| Compact / mini sealer | Small kitchens, occasional use | Easy to store, lower price, simple controls | Slower for large batches, fewer modes |
| Handheld sealer | Zipper bags, containers, quick jobs | Cordless, portable, good for leftovers | Weaker suction, needs compatible bags or canisters |
| Commercial-grade chamber sealer | Restaurants, serious home cooks, butchers | Handles liquids, high volume, heavy-duty | Expensive, heavy, special bags |
Which one fits which user?
The meal prepper
Choose a countertop model with a roll holder so custom-length bags are always one cut away.
The apartment cook
A compact sealer or handheld unit saves space and still covers most weekly leftovers.
The hunter or bulk buyer
A strong countertop machine, plus a good supply of bags, handles large cuts of meat and fish.
What to look for in the best food saver vacuum sealer
- Dry and moist settings for juicy foods such as marinated chicken.
- Pulse control so delicate items like chips, bread, and berries are not crushed.
- Removable drip tray that is easy to wash.
- Accessory port for jar sealers and canisters.
- Warranty length and easy access to replacement gaskets and seal strips.
Food Saver Vacuum Sealer Bags, Rolls & Containers
The machine only works as well as the bag. Searches for food saver vacuum sealer bags and food saver vacuum sealer rolls are common because bags are the part that gets reordered again and again.

| Format | Best use | Pros | Cons |
|---|---|---|---|
| Pre-cut bags | Quick sealing of standard portions | Fast, consistent size | Less flexible for odd shapes |
| Rolls (commonly 8 in. and 11 in.) | Custom length, long items, less waste | Cut only what is needed, cost-effective | Needs an extra seal at one end |
| Zipper bags | Items opened and resealed often | Reusable with a handheld or port | Weaker suction than channel bags |
| Canisters and containers | Delicate foods, dry goods, marinating | Reusable, protects from crushing | Bulkier to store |
Can bags be reused?
Bags that held dry goods can often be washed, dried completely, and reused if the seal area is intact. Bags that held raw meat, fish, or fatty foods are better discarded for hygiene reasons.
How to Use a Food Saver Vacuum Sealer: Step by Step
Whether the question is how to use a food saver vacuum sealer for the first time or how to turn on a food saver vacuum sealer, the basic routine is the same across most models. Check the model’s instruction booklet for button names, since layouts vary slightly.

Standard bag sealing
- Plug in the machine and place it on a flat, stable surface. Most models wake up as soon as power is connected and the lid is closed.
- Prepare the bag. Cut a roll piece about 3 inches longer than the food, seal one end first using the Seal button, then fill.
- Leave headspace. Keep about 3 inches empty at the top and wipe the bag opening clean and dry.
- Position the bag. Lay the open end flat in the vacuum channel, with no wrinkles.
- Close and lock the lid. Press firmly on both sides until it clicks.
- Press Vacuum & Seal. The pump runs, then the heat strip seals automatically.
- Release and inspect. Open the lid and check that the seal line is flat, even, and unbroken.
- Label and date. Write the contents and date with a permanent marker.
Using Moist, Dry, and Pulse modes
- Dry: for solid foods like steaks, cheese, and vegetables.
- Moist: for marinated or juicy foods; the machine runs longer before sealing.
- Pulse: manual control for soft or fragile foods; release when air is mostly out, then press Seal.
Using the accessory port with canisters
Attach the accessory hose to the port and the canister lid, then press the accessory button. The pump removes air from the container without heat sealing anything. This works well for crackers, cookies, and marinades.
Shelf Life: Vacuum Sealed vs. Regular Storage
Manufacturer guidance suggests vacuum sealing can extend the best-quality life of many foods by a significant margin. The table below shows typical ranges. These are quality estimates, not safety guarantees, and results vary by food, freshness at sealing, and storage temperature.
| Food | Regular storage | Vacuum sealed (up to) |
|---|---|---|
| Raw beef or chicken (freezer) | 6 to 12 months | 2 to 3 years |
| Hard cheese (refrigerator) | 1 to 2 weeks | Several months |
| Blanched vegetables (freezer) | 8 to 12 months | 2 to 3 years |
| Flour, rice, dried beans (pantry) | About 6 months | 1 to 2 years |
| Coffee beans | Weeks | Noticeably longer for flavor |
Pairing vacuum sealing with batch cooking from sections like high protein fast food ideas lets fitness-focused households freeze grilled chicken, lean beef, or fish portions for the week ahead.
Food Saver Vacuum Sealer Not Vacuuming or Not Sealing? Fixes
Most problems come down to bag placement, moisture, or worn parts. Work through the checklists below before assuming the machine is broken.
Food saver vacuum sealer not vacuuming
- Bag not in the channel: the open end must sit flat inside the vacuum channel, not on the gasket.
- Lid not fully locked: press down on both sides until it clicks.
- Wrinkles or tiny holes: try a new bag; bone edges and sharp corners often puncture bags.
- Accessory hose attached: remove it when bagging normally, since some models divert suction.
- Worn or misaligned gasket: remove, clean, and reseat the gasket; replace it if it is cracked or flattened.
- Wet or clogged drip tray: empty and dry it.
Food saver vacuum sealer not sealing
- Wet or dirty seal area: wipe the bag opening and the sealing strip.
- Overheating from back-to-back seals: wait about 20 seconds between cycles.
- Worn sealing strip: look for scorched, bubbled, or torn strip material and replace it.
- Too much food near the opening: leave more headspace.
- Wrong bag type: check that the bag is compatible with heat sealing.
Care routine that prevents most failures
- Wipe the drip tray and sealing area after each session.
- Let the gasket air dry before storing.
- Store the lid unlocked so the gasket does not flatten over time.
Food Safety Rules for Vacuum Sealing
Removing air creates a low-oxygen environment, which is great for quality but can also favor certain bacteria that do not need oxygen. That is why food safety agencies stress a few rules:
- Vacuum sealing does not replace refrigeration or freezing. Perishable sealed food still needs to stay cold.
- Cool cooked food first. Sealing hot food traps steam and speeds bacterial growth.
- Blanch certain vegetables. Broccoli, cauliflower, cabbage, and similar vegetables release gas; blanching before freezing is recommended.
- Handle mushrooms, garlic, and soft cheeses carefully. Low-acid, low-oxygen conditions can be risky if they are stored at room temperature.
- Thaw in the refrigerator and open the bag before cooking in most cases.
For the official temperature and freezing guidance, the USDA Food Safety and Inspection Service publishes a clear overview on freezing and food safety, and the brand itself shares product guidance at FoodSaver.com.
Food Saver Vacuum Sealer at Costco and Other Stores
Many shoppers search for a food saver vacuum sealer at Costco because warehouse clubs often bundle machines with extra bags or rolls. Stock changes by season and region, so checking the Costco website or a local warehouse is the best way to confirm current availability and price.
Smart buying checklist
- Compare the bundle value, not just the machine price: bags and rolls add up quickly.
- Check the warranty length and return policy.
- Read recent food saver vacuum sealer reviews, focusing on seal strength and long-term durability.
- Look for roll storage with a cutter if custom bag sizes will be common.
- Confirm that replacement gaskets and parts are easy to order.
Warehouse shoppers who buy large packs of protein and sauces can also check out Costco fast food sauces for ideas on what to pair with bulk-bought meats, and Ninja food processor tips for prepping vegetables before sealing.
Foods that pair well with vacuum sealing
- Marinated proteins: jerk chicken from Jamaican food, kebab meat from Lebanese food, or Mediterranean skewers from Greek food.
- Pasta sauces and meatballs from Italian food recipes.
- Dumplings and pierogi from Polish food.
- Slow-cooked stews and sides from soul food favorites.
- Halal-certified meat portions from halal food shopping trips.
- Pre-portioned food court leftovers and bulk goods from IKEA food runs.
Common Mistakes to Avoid
- Overfilling the bag so the opening is not clean and flat.
- Sealing wet food without pre-freezing or using a paper towel.
- Skipping labels and dates, which makes freezer inventory a guessing game.
- Crushing soft foods like bread or berries without using Pulse or a canister.
- Keeping the lid locked during storage.
- Fast Food Open home
- Food and kitchen blog
- Soul food
- True Food Kitchen
- Greek food
- Italian food
- Jamaican food
- Halal food
- Hawaiian food
- Cuban food
- Polish food
- Lebanese food
- Salvadoran food
- Honduran food
- Food in Spanish
- Food recipes
- Piada Italian street food
- Elephant ears food
- Fish food
- High protein fast food
Food Saver Vacuum Sealer FAQs
How do you use a food saver vacuum sealer?
Place food in a bag with about 3 inches of space at the top, lay the open end flat in the vacuum channel, close and lock the lid, then press Vacuum & Seal. When the cycle ends, release the lid and check that the seal is flat and unbroken.
Why is my food saver vacuum sealer not vacuuming?
Usually the bag is not seated in the channel, the lid is not fully locked, the bag is wrinkled or punctured, or the gasket is worn. Reposition the bag, check the gasket, and try a fresh bag before suspecting the pump.
Why is my food saver vacuum sealer not sealing?
Moisture or crumbs on the seal area, a dirty or worn sealing strip, wrinkles in the bag, or repeated sealing without a pause are the usual causes. Wipe the strip, dry the bag opening, and wait about 20 seconds between seals.
Can any bag be used in a food saver vacuum sealer?
Most FoodSaver machines work best with textured or channeled bags and rolls. Smooth bags generally need a model with an external vacuum channel or an accessory port, so check the manual first.
How long does vacuum-sealed food last?
Manufacturer estimates put vacuum-sealed frozen meat at roughly 2 to 3 years for best quality, compared with 6 to 12 months in ordinary freezer packaging. Perishable food still needs refrigeration or freezing, since sealing alone does not make it safe.
Conclusion
A food saver vacuum sealer is one of the few kitchen tools that can reduce waste, trim grocery bills, and make meal prep easier at the same time. Choosing the right type, whether a countertop, compact, handheld, or commercial-style machine, matters as much as buying the right bags and rolls.
Good habits make the biggest difference: leave headspace, keep the seal area dry, pre-freeze juicy foods, blanch gas-releasing vegetables, and always keep perishable food cold. When the machine stops vacuuming or sealing, the fix is usually a repositioned bag, a clean strip, or a fresh gasket.
For more practical food guides, browse the Fast Food Open blog or return to the homepage.